9. Invaders from Another World [first half] - Otherworld to Ending
Main Scenario Walkthrough
Honey Village Guide
Invaders from Another World
Seek the cooperation of the leaders of each race and pursue Feminel into the otherworld. The final battle begins.
4. Pursue Bente
Proceed deeper into the area and enter the Sealed Land.
5. Find a Way to Break the Barrier
Retrace your steps and go left from the Initial Transfer Point to enter West Area A.
As you proceed along the path, a dialogue event will trigger.
6. Destroy the Statues Maintaining the Barrier
Continue to West Area B, where you'll battle three enemies: a succubus, an orc, and an imp. Defeat them all and destroy the statue.
Head left into North Area A and enter the Building immediately to the left.
Descend into the basement and enter Punishment Room 1 to fight a goblin. Defeat it to obtain the Wounded Key.
Return to West Area A and enter the Building.
Immediately to the left, examine the gate and open it. Attack and destroy the magic device inside.
Head to the second floor and enter the right storage room to fight one orc and four slimes. Defeat them all to unlock the door.
Open the treasure chest inside to obtain a Note with a Code.
Return to the second-floor hallway and enter the left room, the Preparation Room.
Fight one succubus and two myconids. Defeat them all to unlock the door.
Climb the ladder at the back and destroy the statue.
Exit the building and continue left to proceed through West Area B → North Area A.
Examine the magic circle on the right to be teleported to North Area B.
Enter East Area B. In the bottom row of cells, open the center one to obtain a Large Medal.
Return the way you came and enter West Area A.
Examine the pedestal to open the door on the right and examine the magic circle.
You’ll be teleported to North Area A. Examine the switch just below the magic circle to connect the path.
Proceed to the right into North Area B.
Enter the Building in North Area B and defeat two orcs and one imp in the Rest Room to unlock the save point and use the bed.
In the Feminelle’s Shop room on the left, the orc does not turn hostile and will sell you items.
The right Isolation Room is a trap — enter at your own risk…!
Exit the building and investigate the switch next to the well to unlock a path.
Examine the well and descend into the Underground Area.
Approach the switch to trigger a dialogue event, then examine and activate the switch.
Return to the Initial Transfer Point, then enter East Area A to the right.
Examine the magic circle to be teleported back to the Underground Area, proceed further in, and destroy the statue.
7. Defeat Bente
Return to the Initial Transfer Point. Instead of using the magic circle, proceed left along the path into East Area B.
Continue along the path to enter East Area A.
Examine the ladder just below to unlock a shortcut.
Approaching Bente on the left will trigger a battle, so make any preparations beforehand.
Approach Bente to trigger the fight and defeat her.
8. Destroy the Final Statue Maintaining the Barrier
After defeating Bente, examine and open the gate. Destroy the statue inside.
9. Head to the Sealed Land
Note: This is the final battle. Prepare plenty of healing items beforehand.
Tip: If you can afford it, Antidote Potions will help in the final fight.
Warning: The Substitute Talisman will be useless due to story mechanics and is not recommended for purchase.
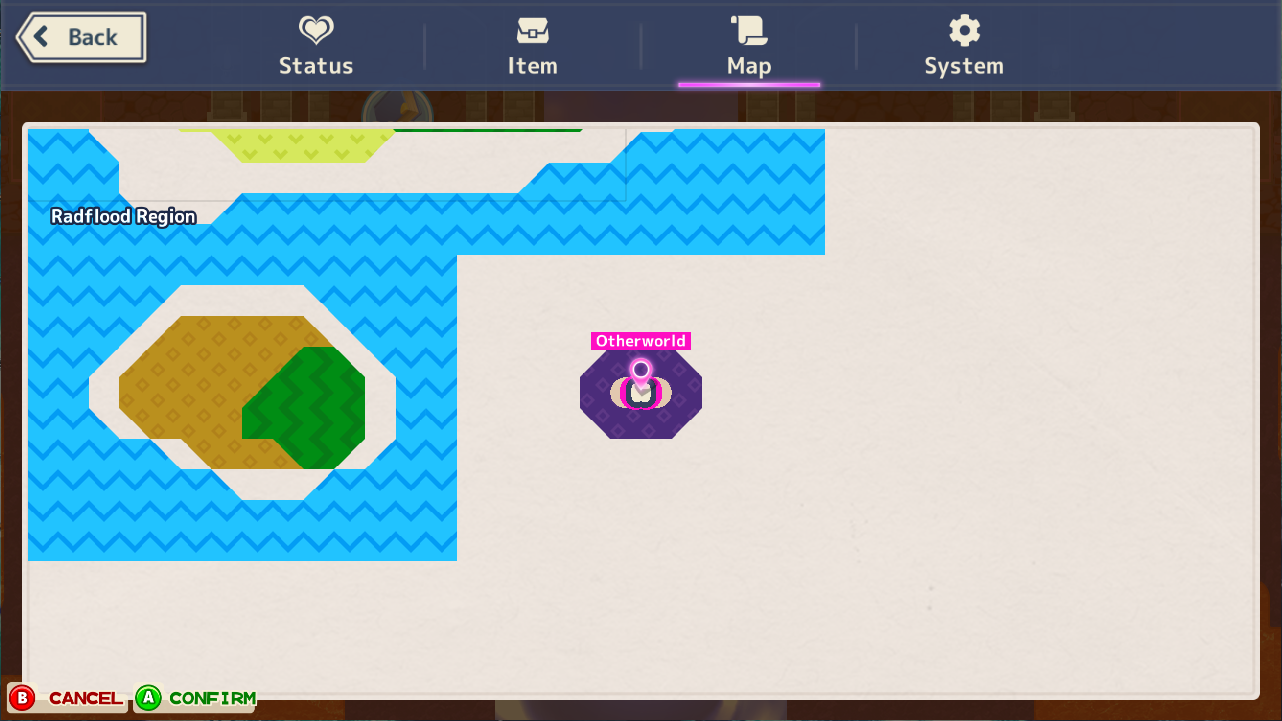
Go to the Initial Transfer Point, head toward the Path of Sealing, and enter the Sealed Land.
You’ll battle Lilimferes, but this is a forced-loss event — you cannot defeat her at this stage.
Let yourself be defeated.
If you have a Substitute Talisman and revive, just allow yourself to be defeated again.
You’ll enter a blank white space called the Mind World. Pick up the Holy Sword lying there.
Fight Lilimferes again, attacking relentlessly.
Lilimferes has a large hitbox, similar to giant enemies. Be mindful of her reach.
Once you deal enough damage, the battle transitions to a new phase.
The arena becomes narrower, so avoid fragile floor sections.
Continue attacking Lilimferes until another phase transition occurs.
Note: Poisonous floor areas appear — be extra cautious with your movement.
Tip: Don’t focus too much on avoiding poison if it means taking more damage from attacks. Using Antidote Potions can help.
Deal more damage until another transition begins.
Multiple enemies will appear, and Lilimferes becomes shielded by a barrier. You must destroy two Magic Devices located at the top left and right.
Note: You don't have to defeat all the smaller enemies — the story progresses once Lilimferes is down. However, clear out any threats as needed.
Tip: The alcoves with the Magic Devices are relatively safe from enemies. Consider hiding and picking them off.
Once both Magic Devices are destroyed and the barrier drops, go all-out and defeat Lilimferes.
The scene changes to the Sealed Space. Attack Lilimferes, then engage in SEX, and you’ll transition to your Own Room.
Inspect all 7 objects (bed, poster, bath, desk, TV, sofa, and door), and Pal will appear.
This completes the main quest "Invaders from Another World", and with it, the main story of Honey Village.
A portal in your room will connect to Deep in the Forest, allowing fast travel.
When you enter either Pal’s House in Fairy Tuari or Your Room, Pal will appear, and you can enjoy a conversation with her.
When having sex with Pal, you can freely choose the position.
Bonus: How to make the demon “Lilimferes” visitable at home
As a post-clear hidden feature, Lilimferes can be invited to your house once specific conditions are met.
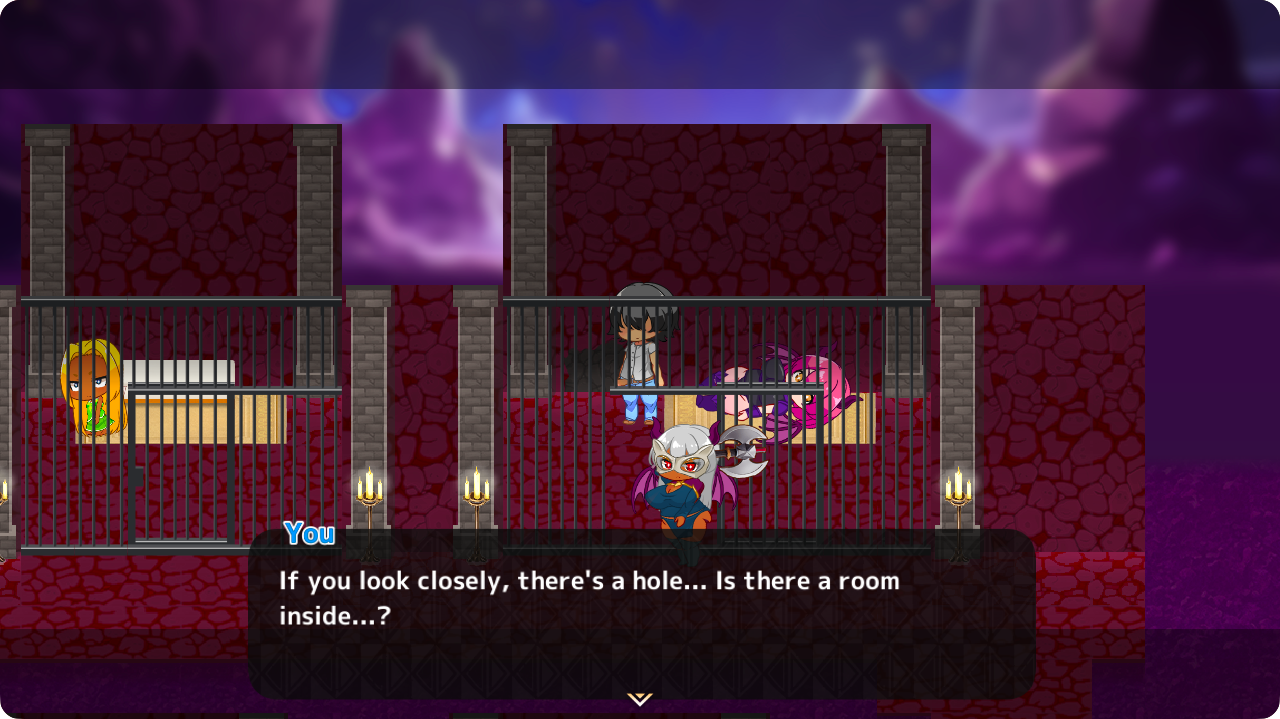
After clearing the game, enter the hidden room located inside the upper-right jail cell in Otherworld – East Area B (details) to obtain the item “Demonic Elixir.”
While carrying the Demonic Elixir, attack and defeat Lilimferes, then have sex with her to trigger the event progression.
Lilimferes will then become available to invite to your house.
Once this happens, Lilimferes will no longer become hostile again.